Last Updated on January 23, 2022
How to Shoot Waterfall
What to consider when photographing a waterfall
Page Contents
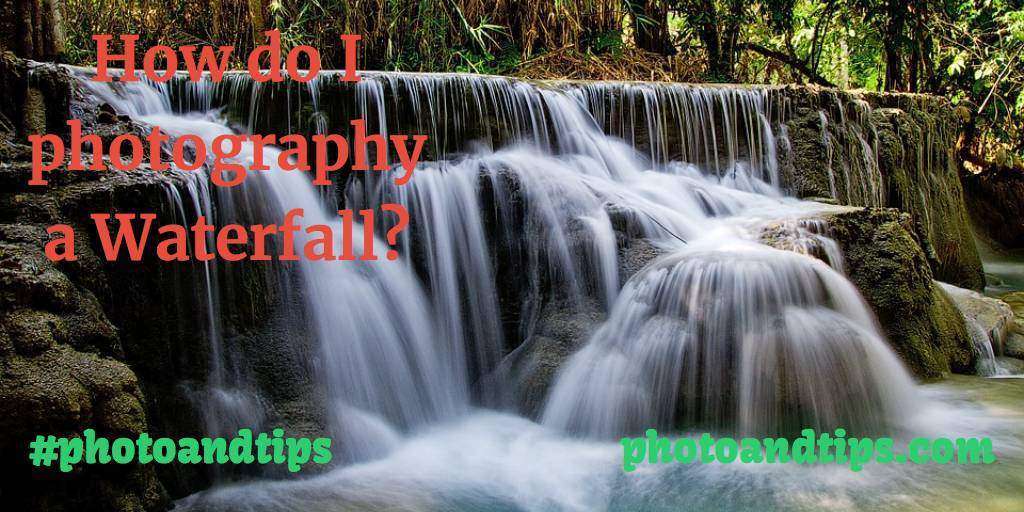
Photographing a waterfall comes with a unique set of challenges and options. When I’m planning to photograph a waterfall, first and foremost, I ask myself how I would like to render the falls themselves.
Should it be an enchanting, silken fountain or an erupting torrent of power and noise?
ND Filters
Once that’s settled I can try to find a composition that highlights these traits. Consider all angles – should the falls be nestled amongst the greenery or stand-alone, dominating the frame?
**Disclosure: Some of the links below are affiliate links.
Waterfall Photography For Beginners
This online course is for the beginners that are looking to learn more about waterfall photography. Check it out!!!
How do I photograph a waterfall?
If I want to be up close and personal, how close can I get without speckling the lens with wayward spray? Or do I want some spray on the lens for effect?
You’ll have to be quick!
I don’t recommend you use this method frequently, but a camera is a tool for your vision and it can handle a short shower as long as you’ve got the tools to clean the lens properly – it could be the flourish which sets your image apart. Is it necessary?
These questions are best answered on the location where you can feel the reverberations of the thundering water vibrating your soul and the cold spray upon your bare skin.
The day you choose to photograph a waterfall will make all the difference. Seasons can change waterfalls dramatically, as does the weather. Have you considered photographing the waterfall when it’s frozen?
Or when the foliage around it has been taken by the oranges and yellows of autumn?
Waterfalls are best visited after a couple of days of heavy rainfall (the more, the merrier!) as this increases their size dramatically. This makes them the perfect targets for a cloudy day.
The soft light of the overhead cloud also offers textural bliss on intimacies such as moss and rocks, which you’re likely to find nearby. In some cases, the setting of the waterfall is more important than the falls.
Conveniently, waterfalls are often located in areas with tree-cover, allowing you to keep that nasty white sky out of frame too.
Time of Day
However, if you know the waterfall is out in the open, the time of day is worth further consideration. The important thing is to realise whether it will be cast in shadow by the surrounding rock features or trees.
If the sky is going to be a feature in the image, you don’t want the waterfall and surroundings to be in the shade.
That’s going to look a bit pants. Maybe you want the surroundings catching those steep-angled yellow-orange rays of evening/morning light?
You can try to predict this using helpful sun trajectory apps and analysing a detailed map (like an OS map) beforehand.
Still not inspired?
Looking for something rare and magical? Well, you could plan for a rainbow. For that most wondrous of lighting events, you’ll need the sun to be directly behind you (if you’re facing the waterfall) at 40degrees above you.
If you look up with your head straight, but without moving it, and then raise your head slightly – it’s about there. That’s where you want the sun. This is typically mid-afternoon. Before the golden hour, but well afternoon.
Waterfalls are often magnets for tourism and this time of day has the bonus of filtering out most of those pesky nature-lovers that seek to thwart your artful depiction of nature with their unbounded exploration and ceaseless good cheer.
Bottom line – if the conditions are right, it’s entirely possible to forecast a rainbow to magically appear before your lens. If you’re going to this effort, consider using a polarizing filter to enhance the saturation of this multicoloured spectrum of light.

So get out there and put some of this into practice!
It’s the best way to learn. If you’d like to try your hand at some long exposure photography, this is one of the best subjects to start with. Try experimenting with small increments in shutter speed.
Remember to counteract this with an adjustment to your aperture or ISO so you can focus on how the different shutter speeds affect the moving water, without a change in exposure.
Try shooting a waterfall at 1/50, 1/4 and 2 seconds. Which do you prefer?
Why?
Do you think some would work better on other waterfalls?
No?
Maybe you just haven’t found the right waterfall. And to me, that like the perfect excuse to go chasing another.
Jonas and I are in Iowa this week shooting pieces for a new documentary we are working on, and we want to share with you a few tips about using shutter speed to take your photographs and films to the next level.
By- Rob & Jonas’ Filmmaking Tips
Shutter speed is a fundamental concept that you should master with your DSLR camera. When shooting you can adjust many things on your camera.
I find one of the best ways to explain how to use shutter speed is via waterfalls. It is an example of a photo that you want to shoot with a longer shutter.
For waterfalls, I like to shoot with shutters longer than about 1/15th of a second. Shorter shutters don’t give you the blur that makes these waterfalls look magical. However, be careful not to go too far.
You can clearly go overboard. Finding balance is the key. In this short video, I wanted to show you examples of the waterfall shots we took on location.
While it’s always a matter of preference, I like the look of these longer shutters. What do you think?
